Green Screen & Quantization: Perfect AI Sticker Cutouts
Remove backgrounds from AI illustrations (Midjourney, DALL-E) cleanly: 'Green Screen' prompts plus EzStampify's Quantization to fix colour noise.
Table of Contents
The Challenges of Background Removal in AI Image Generation
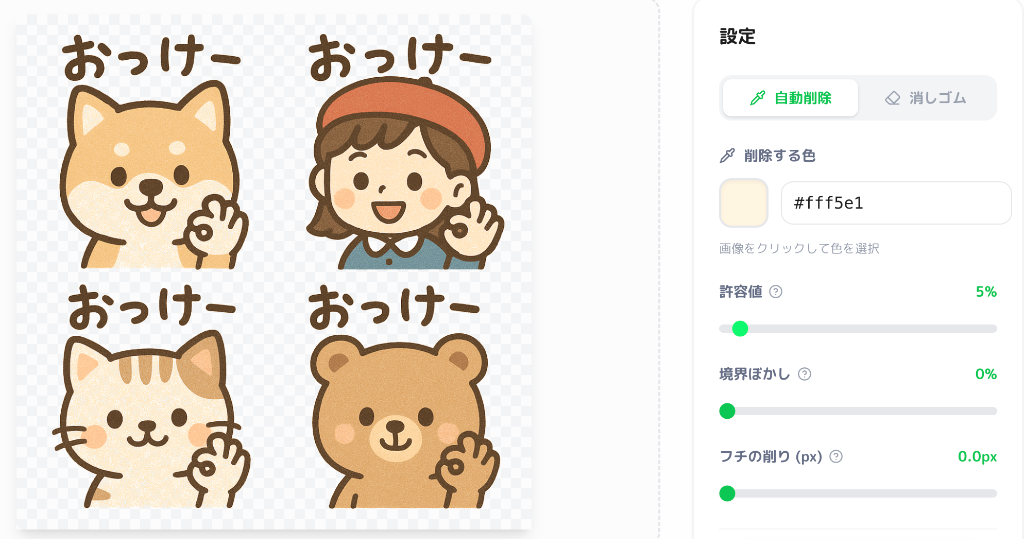
When creating LINE stickers with AI tools like Midjourney or DALL-E, prompts asking for a 'transparent background' often fail to deliver a true alpha-channel PNG. You'll frequently see a solid white or a fake 'checkerboard' background instead.
The most reliable method for background removal is to intentionally generate images with a 'green background' (Green Screen) and then remove it using specialized software. The precision of this extraction step determines the final professional quality of your stickers.
Why AI-Generated 'Green Screens' Still Have Noise
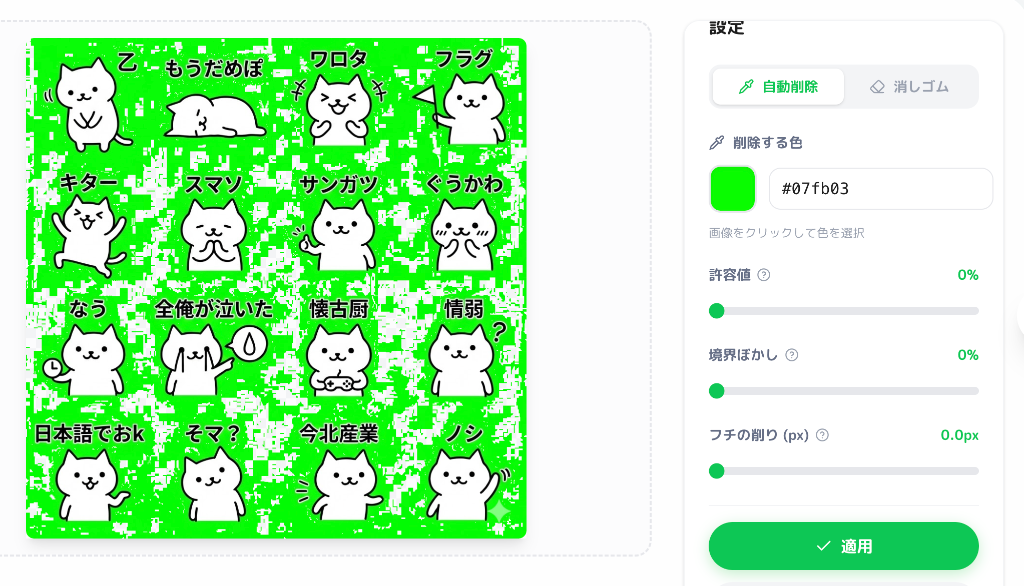
At first glance, an AI-generated green background looks like a pure, single color. However, digital analysis reveals subtle gradients and 'compression noise' that are invisible to the eye.
This 'invisible noise' is the enemy of chroma keying. When removing a specific color, the tool misses these slightly different shades, resulting in 'grainy artifacts' or 'speckles' left behind. This ruins the clean transparency needed for stickers.
Two Reliable Approaches for Professional Sticker Creation
EzStampify provides two powerful methods to handle AI-specific background removal. Choose the one that best fits your art style:
1. AI Background Removal (High Precision)
Uses deep learning to identify and cut the subject directly. This is ideal for complex boundaries like hair or fur, or when the green background is heavily distorted. It's the easiest way to complete background removal without manual effort.
2. Digital Flattening: Quantization + Chroma Key
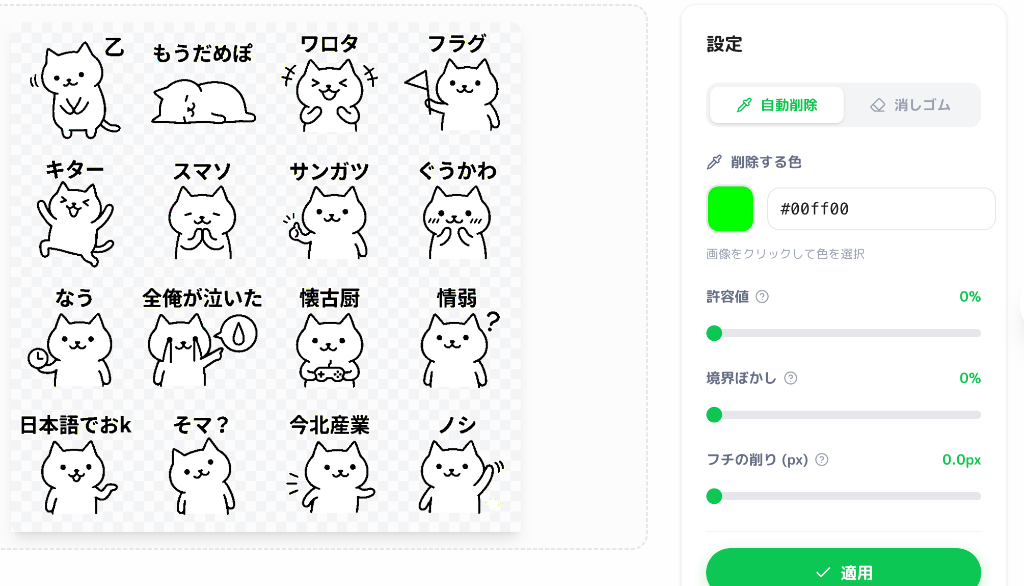
This method involves using the 'Quantization' feature to smooth out color noise. By digitally unifying the background into a single pure color first, the Chroma Key tool can perform with extreme accuracy.
Mastering Quantization: Flattening Colors for Better Cutouts
Quantization reduces the millions of colors in an image to a specific set (2 to 512), grouping similar shades together. This forces an imperfect background into one pure, removable color code, dramatically increasing chroma key accuracy.
EzStampify offers 4 patterns. To preserve image quality, always start with the highest color count:
- 512 Colors (Standard / High Quality): The most recommended setting for LINE stickers. It smooths out compression noise without sacrificing the beauty of your AI-generated art.
- 64 Colors (Aggressive Flattening): Use this if 512 colors still leave noise. It ensures a uniform background at the slight cost of some character detail.
- 8 Colors (Cel Shading / Flat Art): Great for simple illustrations. It simplifies the entire image's palette for a crisp, animated look.
- 2 Colors (Logos / Text / Silhouettes): Simplifies the subject into just two tones. Perfect for extracting text stickers or high-contrast monochrome logos.
Pro Tips for Finishing Your LINE Stickers
The final touches define how your sticker looks against various chat themes, especially in Dark Mode.
- Adjusting Tolerance: Once the background is flattened via Quantization, you can keep tolerance low to maintain sharp edges without eating into the subject.
- Edge Shrink (Anti-Halo Fix): After removal, a thin 1px 'halo' often remains. Shrinking the edge by 1-2px pushes the boundary inward, which is essential for preventing white edges from appearing in LINE's Dark Mode.
- Edge Smoothing: Slightly blurring the edges helps photo-based or textured stickers blend naturally with the chat background.