3 Ways to Master Positioning and Margins for LINE Stickers
AI art often leaves no room for text. Three margin adjustment patterns in EzStampify to get the layout of your stickers right.
Table of Contents
Common Margin and Positioning Hurdles
When splitting AI-generated character sheets in EzStampify, you often face these positioning issues:
• Subject is Too Large: The character fills the entire frame, leaving no room for text.
• Off-Center Alignment: Characters shifted to the left or right due to mathematical grid splitting.
• Inconsistent Margins: Varied white space across stickers, making the set look messy.
EzStampify provides 3 distinct margin adjustment patterns to solve these issues.
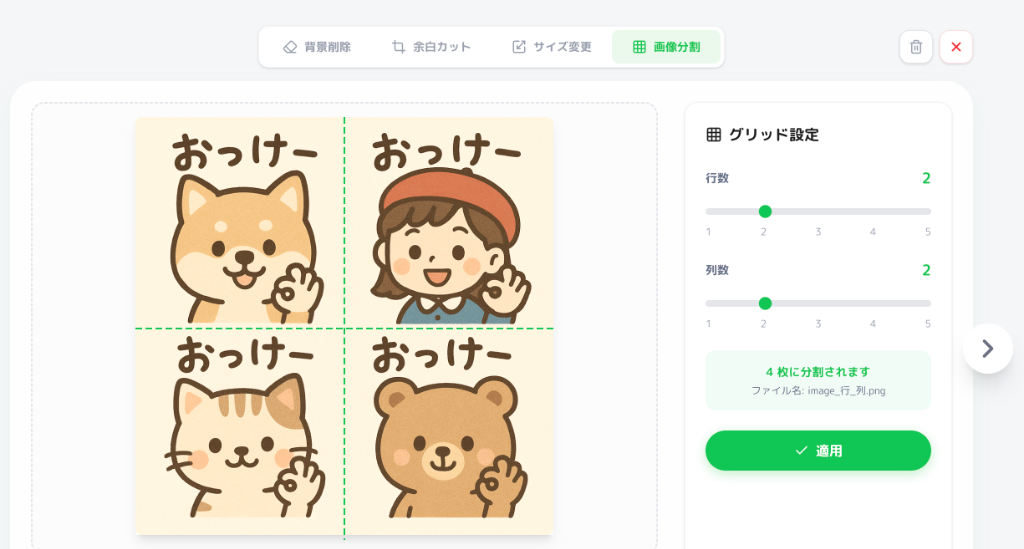
Pattern 1: Bulk Crop/Add (Efficiency Focused)
Adjust all stickers at once by cropping or adding margins uniformly from all sides. This is a fast way to handle generic adjustments across the entire set.
Best for:
• Adding a bit of extra 'safety buffer' to an entire set after splitting.
• Removing small artifacts or noise that consistently appear on the edges of AI-generated backgrounds.
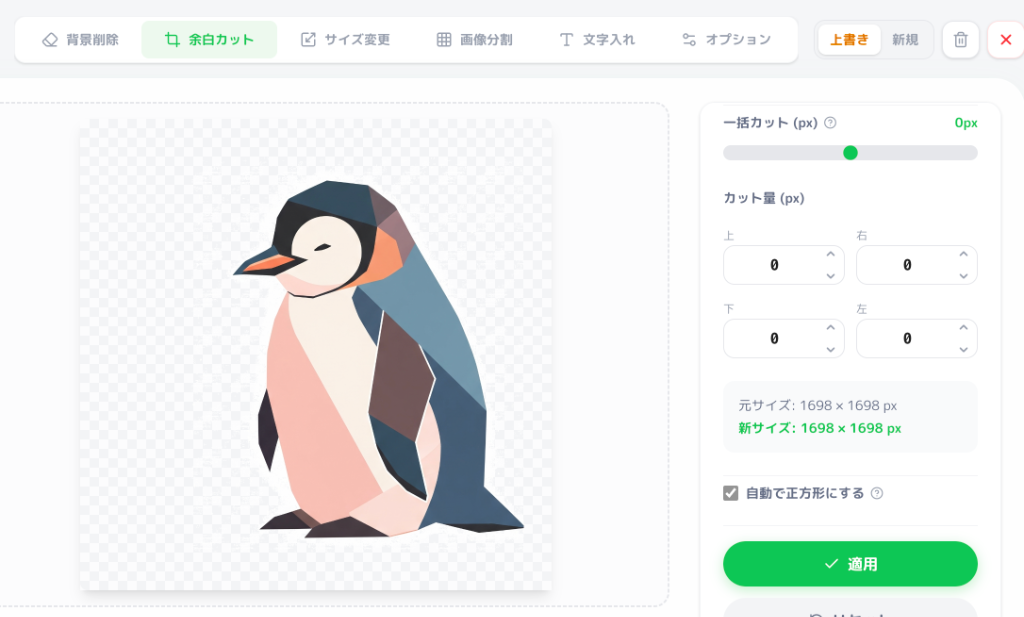
Pattern 2: Numerical Specification (Precision Control)
Adjust margins by entering exact pixel values. The canvas size shifts mathematically based on your input.
Best for:
• Uniformly creating a fixed amount of space for text across all stickers.
Using Negative Values: Entering a negative number expands the canvas in that direction, allowing you to manually add new transparent space.
Pattern 3: Interactive Positioning (Intuitive Design)
The most intuitive method—directly drag, scale, and rotate your image within the preview window.
Best for:
• Custom layouts like 'bottom-alignment' to create room for text at the top.
Physical Cut-offs: If a character's limb was cut by a grid line during the split, moving it here will not restore it. You must redo the split with adjusted grid lines.
Fixing Off-Center Splits Effectively
For images where the character is fully intact but poorly positioned, Pattern 3 (Interactive) is highly effective. Simply grab the image and pull it into the frame for an instant fix.
If any part of your subject is too close to the canvas edge, it will likely be rejected for violating the '10px margin rule.' Scale it down slightly for a safe buffer.
Summary: Professional Stickers Need Balanced Margins
Margins are not 'empty space'—they are design elements that make your text and expressions pop.
1. Use Bulk Crop to clean up the edges of your entire set.
2. Use Numerical Input to create fixed text areas.
3. Use Interactive Dragging to fine-tune the character's focus.
Once you've got the margins right, check out our complete text overlay guide for picking a readable font.